Blocks and detection: stopping a train in the right place with a single detector
One block, one detector, and the train still stops in the middle of the platform: how LocoPilote computes the stop, and what makes it accurate.
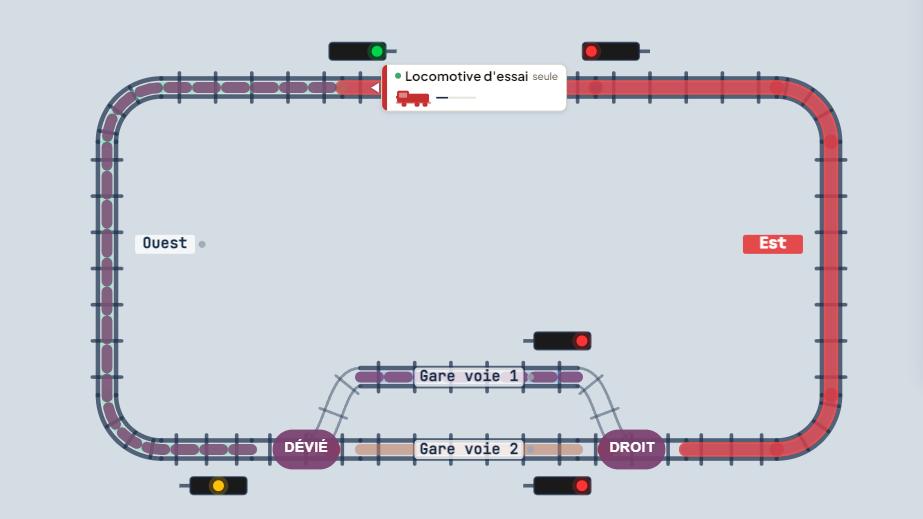
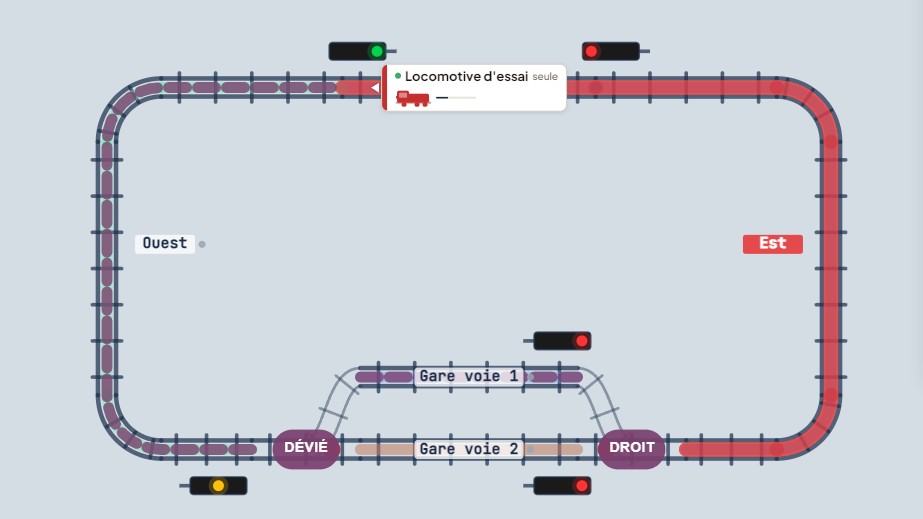
For software to drive your trains, it has to know where they are. On a layout, this information comes from blocks and their detectors. This guide explains what a detector really sees, why a train sometimes stops at the entry of the block instead of the middle of the platform, and how LocoPilote gets a precise stop without wiring one more detector.
What is a block?
A block is a section of track, electrically isolated from its neighbours by rail gaps, where only one train runs at a time. A detector tells the software whether the block is occupied or free.
This information makes everything else possible: reserving a route, turning a signal red behind a train, or preventing two trains from entering the same block.
What a detector sees
There are two main families of detectors, and they do not answer the same question.
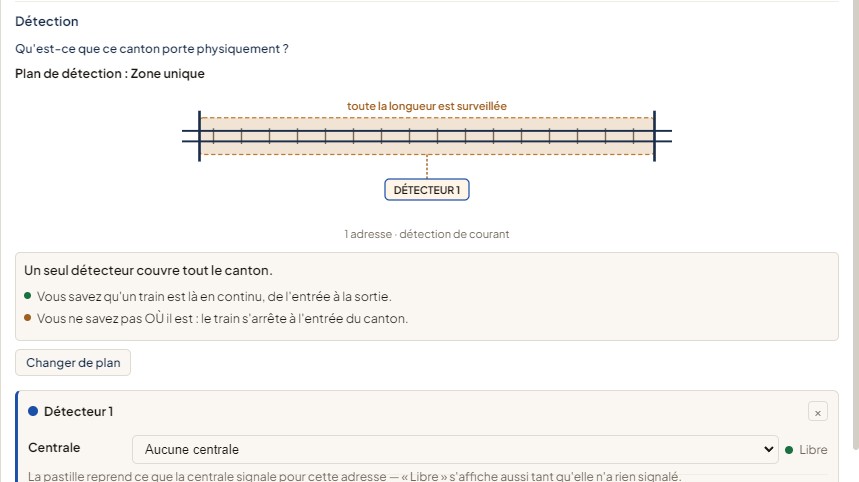
- The zone detector, the most common, measures the current drawn in the block. It says “a train is here”, over the whole length. It does not say where: at the start, the middle or the end of the block, the answer is the same. A wagon that draws no current stays invisible, unless it has resistive axles.
- The point detector (reed switch, infrared barrier, Hall-effect sensor) says “a train has passed here”, at a precise point. Between two passes, it knows nothing.
A zone knows that a train is there, not where it is. A point knows where the train passed, not whether it is still there.
The problem: where to stop?
With a single zone detector per block, the only known moment is when the train enters the block. If you tell the train to stop as soon as it is detected, it stops at the entry: at the end of the platform, barely in the station.
This is how LocoPilote behaves for a block declared as Single zone: the stop happens at the entry, because there is no other known place. The block window says so in plain words (Layout tab, Block tool, then click the block name and Configure, Detectors tab).
The solution with no extra hardware: the computed stop
The entry into the block is a precise instant. From there, if you know the train's speed, you know where it is: at 20 cm/s, it has covered 20 cm after one second. All that is left is to tell it at what distance to stop.
This is the Zone + stop point plan: the same single detector, plus a stop distance that you declare. LocoPilote computes when to slow down and when to cut power, so that the train stops at that distance from the entry. No extra detector to install.
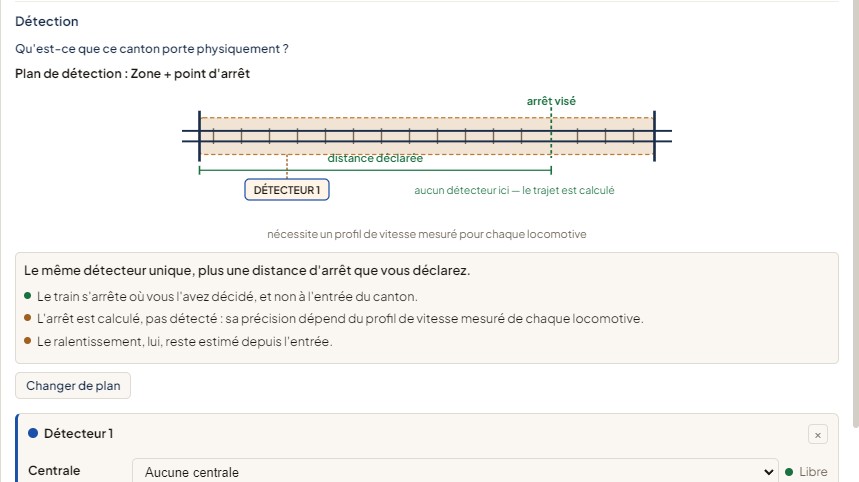
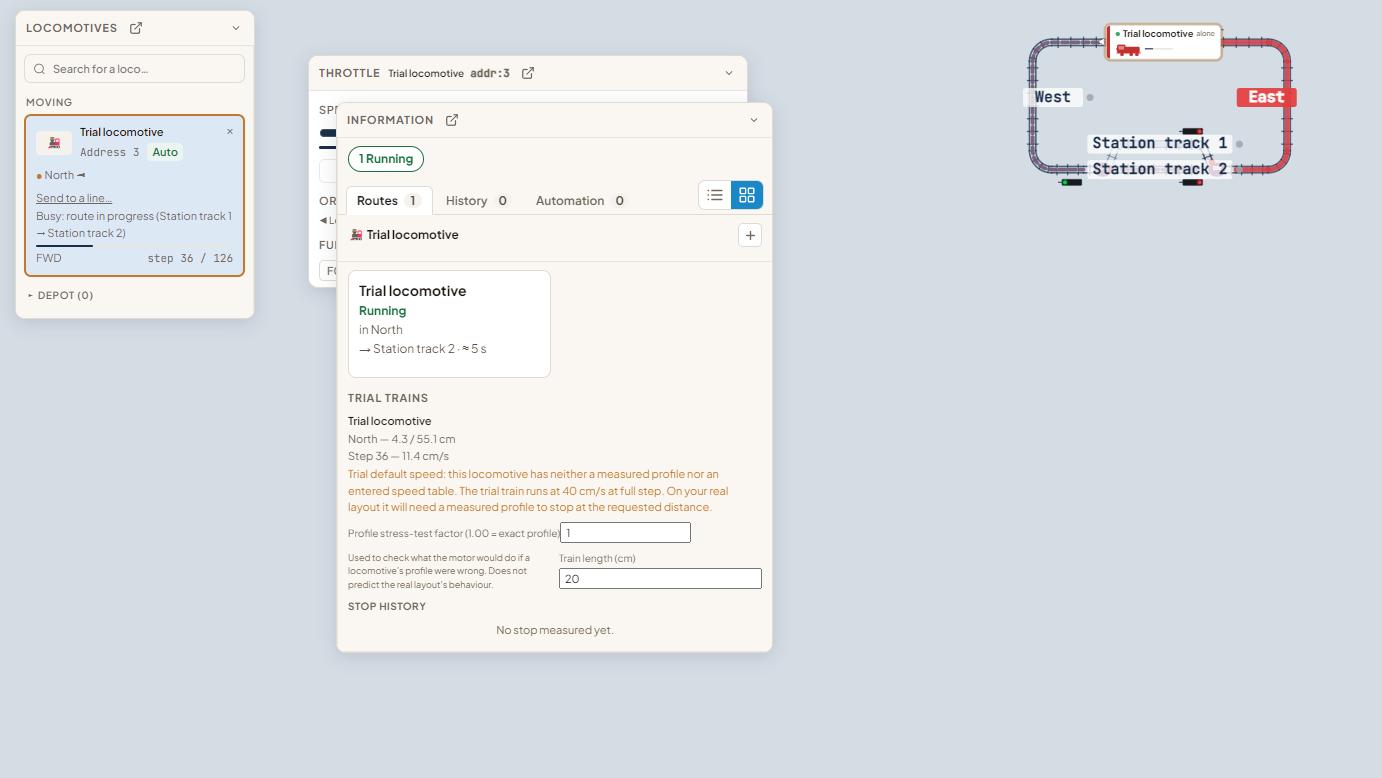
On the sample plan, the two station tracks are set up this way: stop at 33.6 cm from the entry, in both directions. The other blocks stay in single zone. The Block states window (Layout tab) summarises these settings for the whole layout.
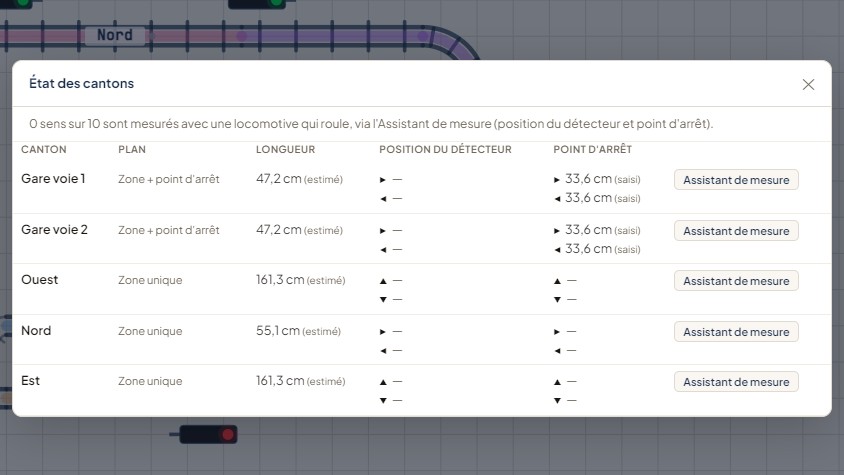
No detector checks where the train stops: accuracy depends on what the software knows about each locomotive. The next two settings make all the difference.
What makes it accurate
Each locomotive's speed profile
Two locomotives set to the same speed step do not run at the same speed. To compute a stop, LocoPilote therefore has to know each machine's real speed, step by step: this is its speed profile.
In the locomotive's sheet, Speed profile tab, the Start an automatic measurement button does the job: the locomotive runs back and forth on its own, step by step, over a section of three blocks. You can also enter speeds you measured by hand.
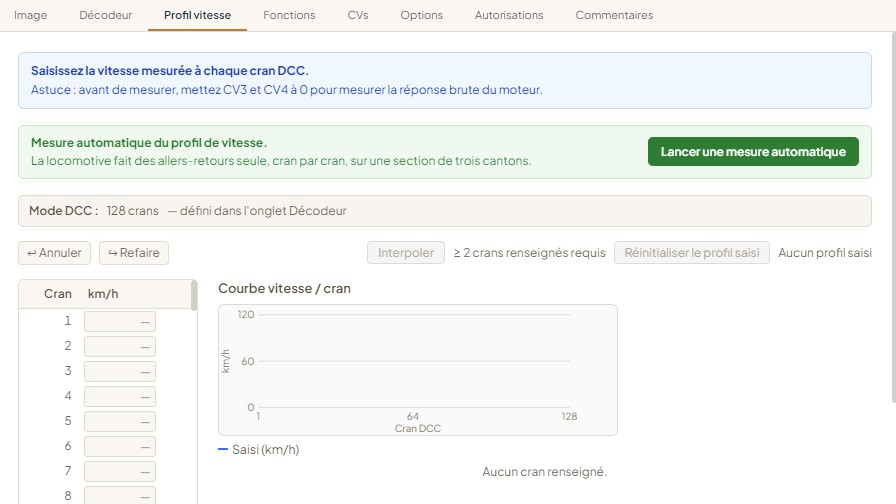
Two tips from our testers' trials:
- measure with the decoder's inertia set to zero (CV3 and CV4), as the screen reminds you, to measure the motor's raw response;
- measure again if you change the decoder's speed settings: the old profile no longer matches.
The detection offset
With some detectors, the locomotive is only seen once it is well inside the block, depending on where it picks up current, and not at the moment its front crosses the gap. For one of our testers, a locomotive was only detected once it was entirely inside: its front was already 21 cm past the gap. All its stops therefore landed about 21 cm too far.
The Detection offset setting, in the same tab, corrects this: it is the distance between the block entry and the front of the locomotive at the moment the block turns occupied.
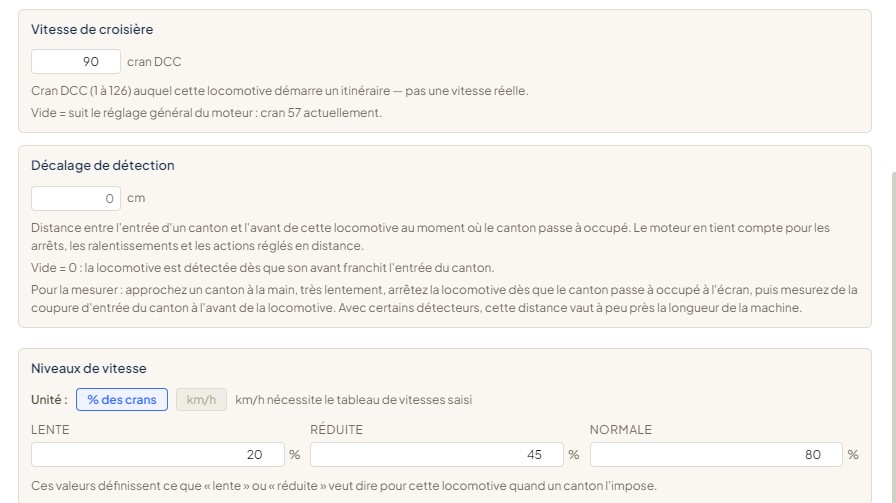
To measure it: approach a block by hand, very slowly, stop the locomotive as soon as the block turns occupied on screen, then measure from the entry gap to the front of the locomotive.
The four detection plans
Each block is declared according to what is really installed on it, in the Detectors tab of its window. LocoPilote offers four plans, each with its own drawing:
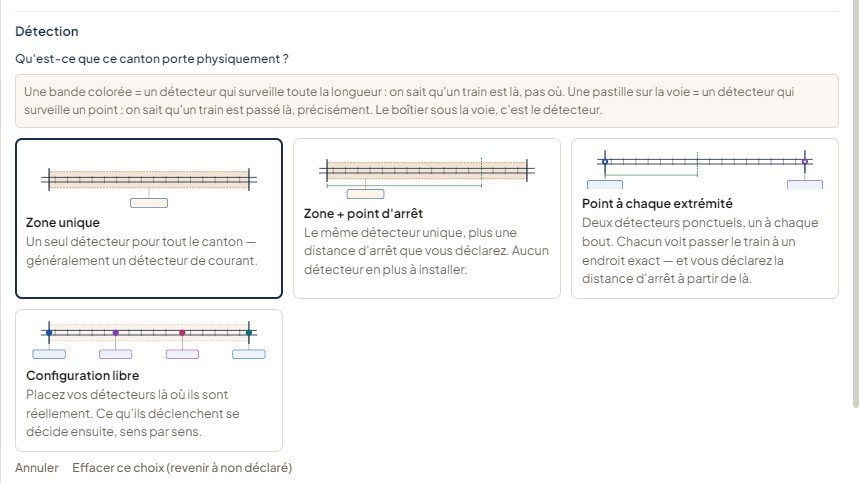
| Plan | What you have | What you get | Its limit |
|---|---|---|---|
| Single zone | One detector for the whole block | The train is seen continuously, from entry to exit | It stops at the block entry |
| Zone + stop point | The same detector, plus a declared distance | The train stops where you decided | The stop is computed: it depends on the speed profile |
| Point at each end | A point detector at each end | The entry is seen at an exact point: the stop is more accurate | Between the two passes, the state of the block is unknown |
| Free configuration | Your detectors where they are, zone optional | Each detector gets its role, direction by direction | Without a zone, occupancy stays unknown between the points |
A block equipped only with point detectors does not know whether a train is in it between two passes. For LocoPilote, its state is then unknown, never “free”.
Where to start?
- Declare each block's plan. If you have one current detector per block, that is the Single zone.
- Measure the speed profile of the locomotives that need to stop precisely.
- Switch to Zone + stop point the blocks where the stop matters (platforms, sidings) and declare the distance.
- Set the detection offset of each locomotive.
- Check with a tape measure where the train stops, and correct the distance or the offset if needed. From the Block states window, the Measurement assistant helps you measure the detector position and the stop point with a running locomotive.
You can do all these trials without hardware, in trial mode: that is what the article Getting started with LocoPilote shows.
Happy running!

Frédéric
Creator of LocoPilote
Developer and railway modeller, creator of LocoPilote. Passionate about automating model railway layouts.